


6/18/00


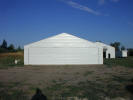
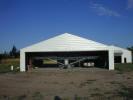


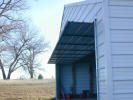
hangar4 - With the door open.
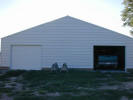
hangar5 - View from the back side. My hangar holds my plane and 2 vehicles.
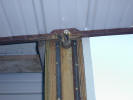
door01 - This shows the cables that opens the door. The cable is 3/32" stainless steel aircraft cable. The cable and all the pulleys were purchased from a hog equipment supplier. They are designed for lifting doors/curtains in hog and poultry buildings. That may sound like small cable but it's rated for 900 lbs., there is 3 of them and the door is about 400 lbs.total.
door02 - The winch to open the door. The winch drum (The long pipe) is 3 1/8 OD with a 1/8" wall thickness. It's about 30' long. The top gear is welded to the pipe. The bottom gear I bought (dang, didn't have one laying around). The pipe is a couple of old Farmhand loader arms bolted together. The top gear is a worn out gear off of a feed wagon. The chain is #60, though #50 would be plenty heavy. The bearings are pieces of 2x12 with a 3 1/8" hole drilled in them. Held to the truss with 1/4" redi-rod. Takes a long bit to drill these holes..... The bottom gear should be a little smaller (cranks harder than I prefer!) It's also welded to a short piece of the 3 1/8" pipe that goes through 2 - 2x10's.
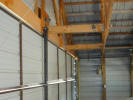
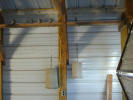
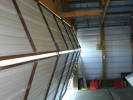
door04 - The other 2 weights. Homemade, just use a 30" piece of 12" wide flashing, just coil it to about 8" in diameter and tie some twine around it. Get a piece of 5/16" or so rod about 16" long, bend an eye in one end and a hook in the other end. Get a sack of concrete mix, pour it in the flashing and stick the rod in it. If your weight is too light or too heavy you get to make some more! :-)
door05 - Must have wiggled when I took that one. Just a pix of the cable pulleys for the middle cable.
door06 - This is the neutral point of the door vs. the weights. You have to push it shut from this point.
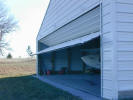

door08 - Door fully open.
door09 - Full view of the door track.
door10 - Door track with the door fully open. That's a 6x6 treated pole. The bearing is a worn out bearing from a hay baler pickup. It's 5/8" ID and about 1 7/8" OD. The OD doesn't matter, just make the track about 1/8" wider than the OD of the bearing. On my
door the bottom half of the door is about 2/3rds of the total
door height so it sticks out about 2' when up. This proportion
isn't critical, what is critical is that the bearing be located on the bottom half so the door is level when fully open. I cut the track in the pole 1" deep and 2 1/4 wide with a router then screwed 1x1x1/8" angle iron on each side.
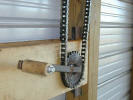
door11 - Just a close up of the crank. A reduction gearbox/motor would also work with a couple of limit switches.

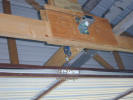
to the front (outside) and do the actual lifting of the door.
door13 - Center inside cable, same spot, different view as door05.
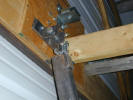
door14 - Top of the center brace pole. door03 shows it in normal shut position. With the door in it's neutral position (door06) you hook the top in then push the bottom of the pole in. This is a 1 1/2"x2 1/2" square pipe.
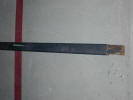
door15 - Bottom of the brace pole. The inside piece slides up and down.
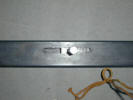
door16 - Close-up of the slide.
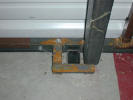
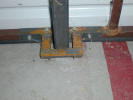
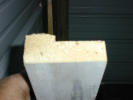


door18 - Brace pole in place.
door19 - Top of a lock 2x4 for the door sides.
door20 - This is the lock 2x4 in place. This holds the center of the door from blowing in on the edges. Also helps keep the snow from
blowing in around the edge of the door! Snow reduction not
required in FL though they may need something to keep the door
from blowing in!
door21 - Just a view of the weights/brackets. You can also see a leftover bracket that was on a cable that went to the front. I had a
weight that was hooked to the cable drum to help make the door
open easier, it did, however it also kept the door about half open
when in neutral position and made it very hard to close. Bad idea!
Hope this gives you a few ideas. If you need any other pictures to clarify something let me know. Digital camera film is cheap :-) and the hangar is only about 100' from the house. Any other questions feel free to email me at: cshippy@gwtc.net
Chan