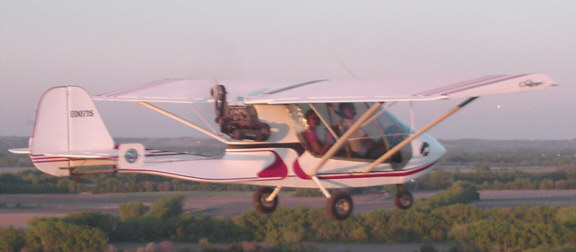
J.D. Stewart's C-II
Owner, UltraFun
AirSports, Norfolk, NE
Be patient. Lots of pics in here. Click on Thumbnails to Enlarge
10/02. Miss Tress has been sold and went to NY.
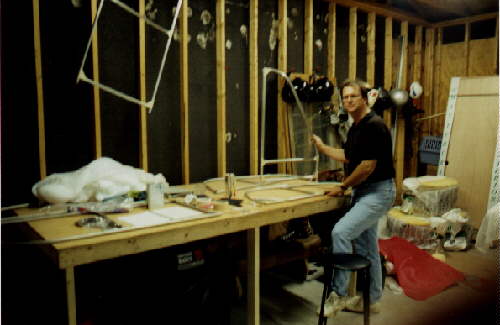 |
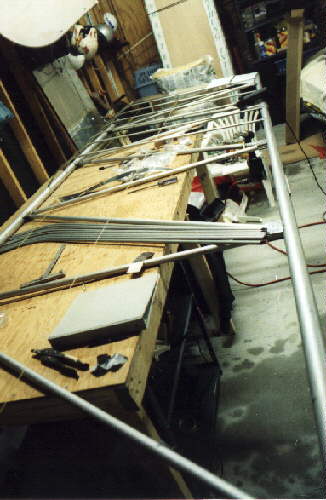
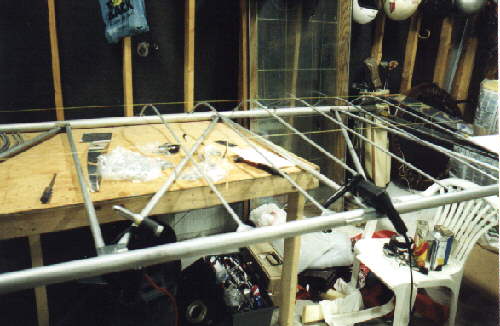
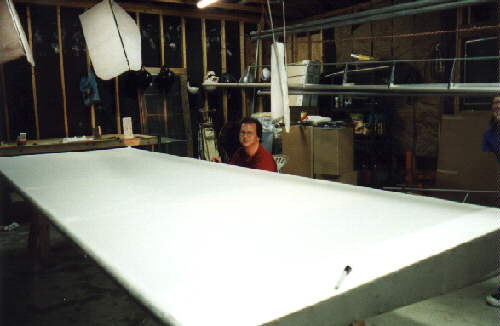
Getting started. Built a table to lay out everything. Whatever size you build it, it's never big enough :>) Dan from the factory sent the tail feathers ahead to keep me busy while the plane was being built. |
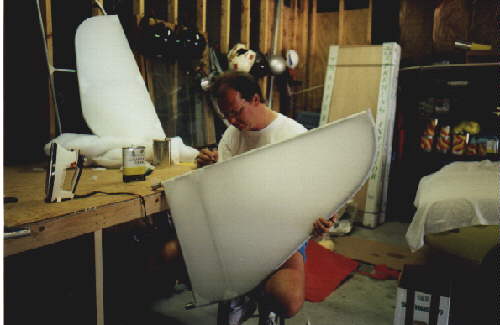 |
Gluing the perimeter of the vertical stabilizer. |
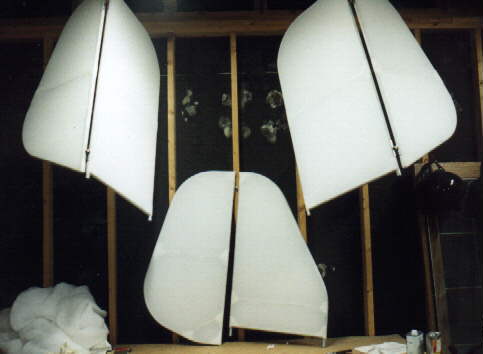 |
Tail feathers completed. |
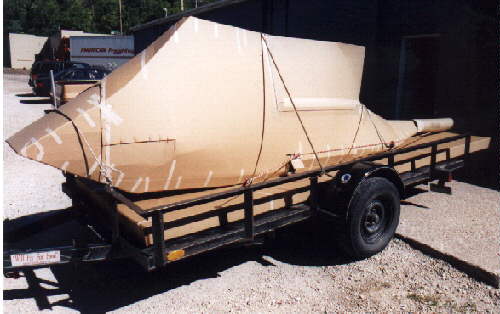 |
Picking my C-II up at the factory. Looks like a submarine project! |
|
|
Ready to leave the factory. |
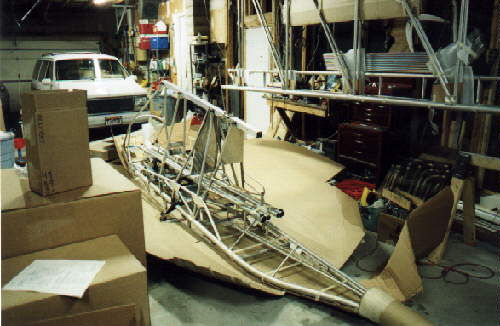 |
I've never seen so much cardboard in one place! 3 hours later, it, and all the tape holding it together is finally gone. It's not an optical illusion. My garage is actually that big. I used to own a limousine service and kept the limos in the 54' deep garage. Makes a dandy aircraft factory! |
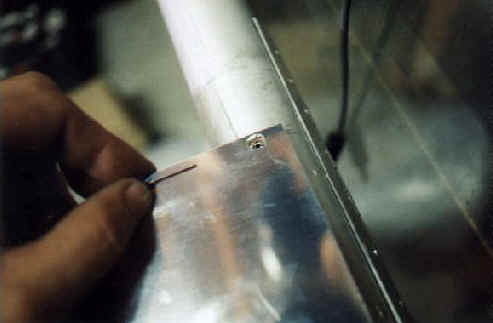 |
Inboard and boxed wing tip detail. In order to have the sheet lay flat over the rivet holding the rib on, I drilled a hole in the sheet. |
 |
Installing the ribs. A 4X8 table seems really dinky when you lay a wing on it. |
 |
Gluing the perimeter of the aileron. |
 |
Finishing both ends and running construction string back and forth keeps the ribs all the same height. |
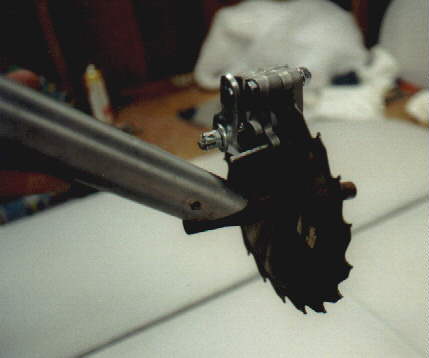 |
No, it's not there to cut the grass when I'm taxiing, or to scare big iron away. It's the beginning of my manual disk brake project. A pair of the calipers were $25, and the rotors will be made out of circular saw blades. Yes, I have since ground the teeth off of the blade :>) |
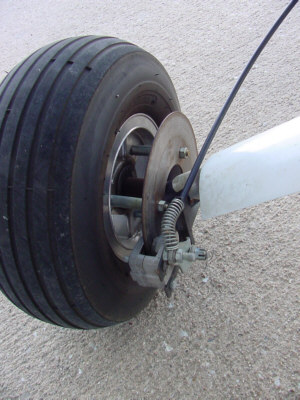 |
And here's the final product. UPDATE: The brakes never did hold really well, so I've upgraded to Tracy O'Brien hydraulic disc brakes. They work so well, I can lock up the wheels at full throttle and skid the tires on the grass. :>) |
 |
Taking a break. Haven't got the wheels on yet, so I can't sit in it and make airplane noises :>( |
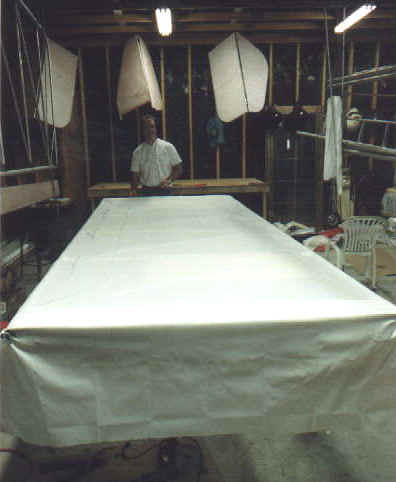 |
Covering the bottom of the left wing. |
 |
I have taken the wingtip bows off, as I did with my last plane. The tips apparently don't provide much lift, and increase drag. The roll rate will be better. Wingspan will be 28'. Kinda like a hybrid between the long wing and a CWS. |
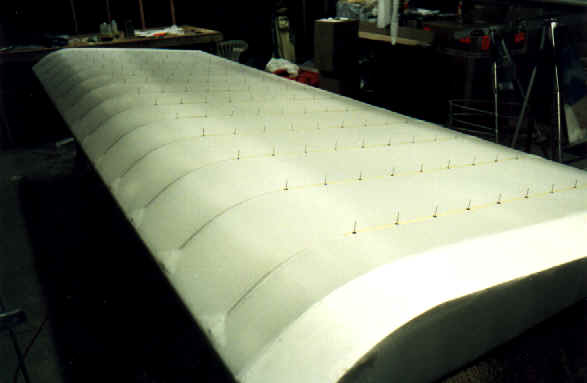 |
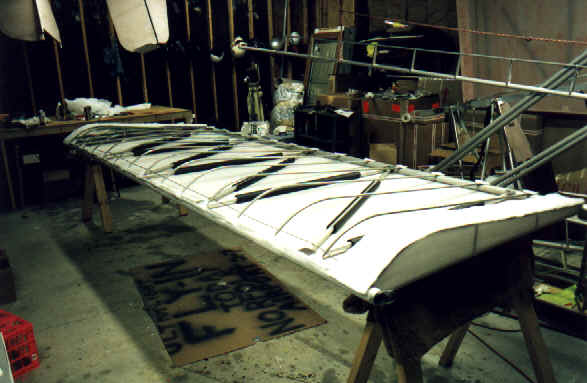
All the rib rivets in, ready to pull. Looks like a porcupine. These were spaced 5" apart, but I easily had enough left over for 4" spacing. |
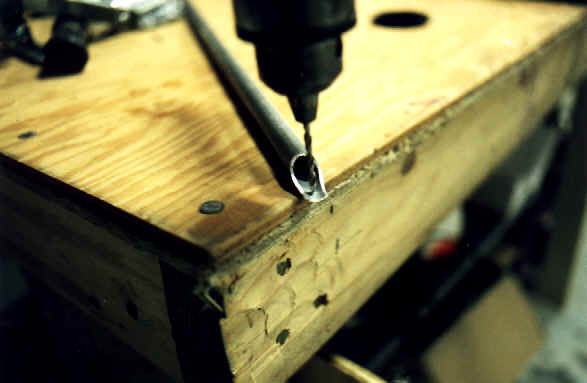 |
The easy way to get a hole in the ribs. Turn them upside down and drill from the inside. Naturally centers itself. |
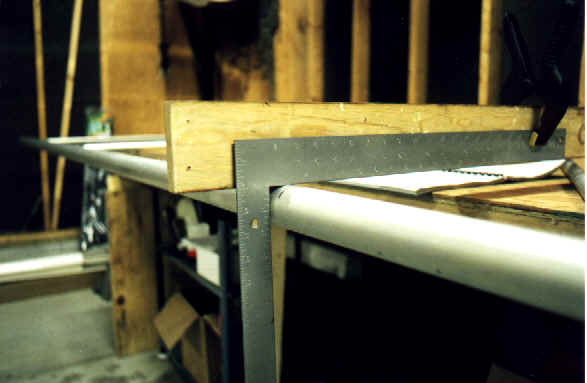 |
Marking a centerline. On stuff that exceeds the length of the carpenter's square, I clamped on a board to keep it at a right angle. Hard to see, but those plastic clamps are lifesavers. Get a couple of the big ones and about 4 of the little ones. You'll use them a lot when covering. |
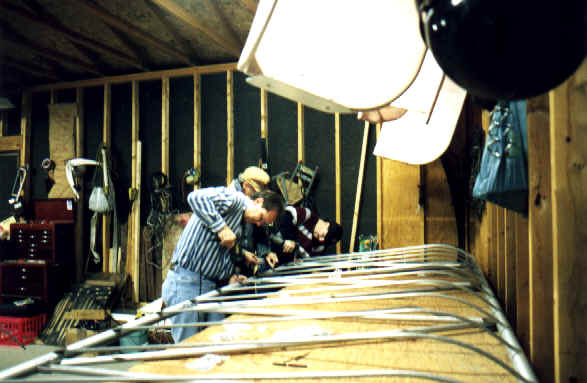 |
A couple of friends came over one night to check up on me and I put them to work :>) Here Bryan, Norm and I are installing ribs "assembly line" style. I would drill, Norm would put in the rivets, and Bryan would pop them. We did the whole wing in a hour. |
 |
After hearing about the pipe wrap idea, I decided to do it. Cost, $7, and virtually no weight. |
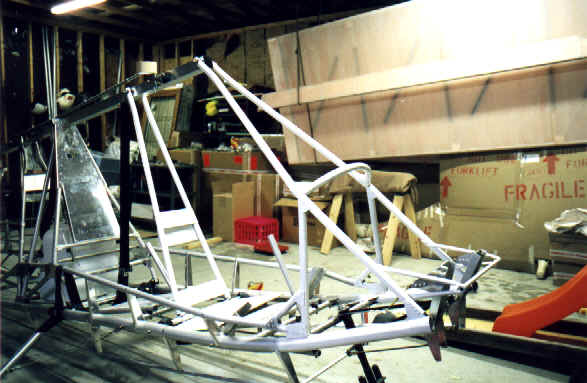 |
On to the Fuselage. I painted the tubes that everyone will see. Didn't paint the root tube, since it would involve a lot of masking or removing of parts. The contrast looks good. See the motor mount pic later. |
 |
I painted the motor mounts also. Looks great. Notice the fingernail polish on the nuts to confirm if they have loosened. |
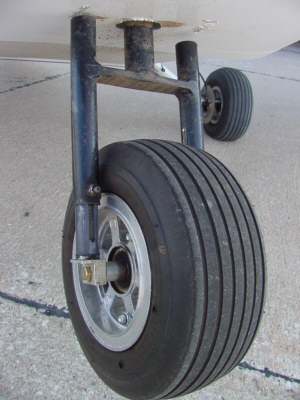 |
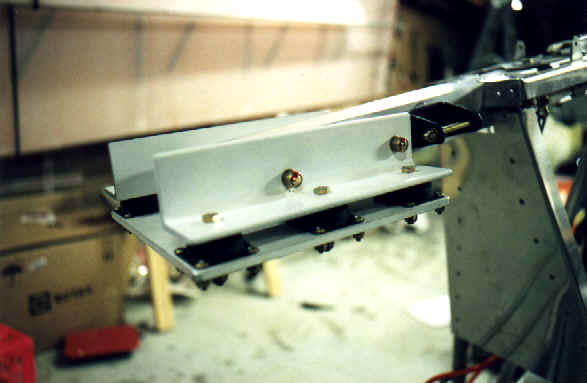
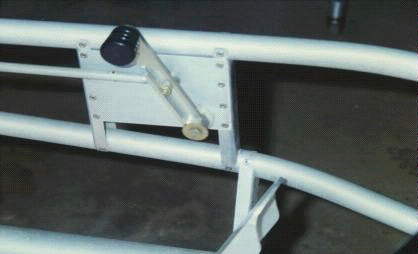
Custom front suspension, made by Brad Stiefvater. Plans are on his page in the photo gallery. One of the best mods ever. |
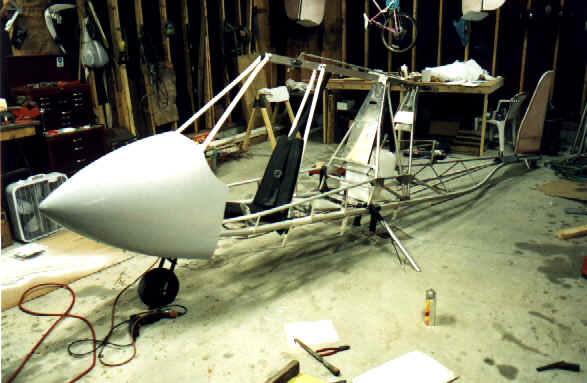 |
Nose Cone on. Now we're getting somewhere! |
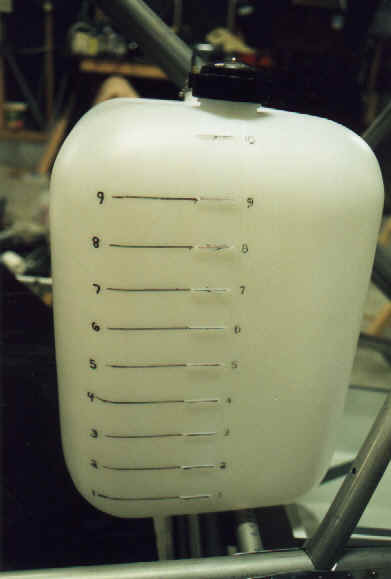 |
I wish I would have thought of this on my previous plane. You can never see how many gallons you have. With the lines marked and moved to the side, I can see all the way down to a gallon (when I'm not flying, or 4 gallons when I am). |
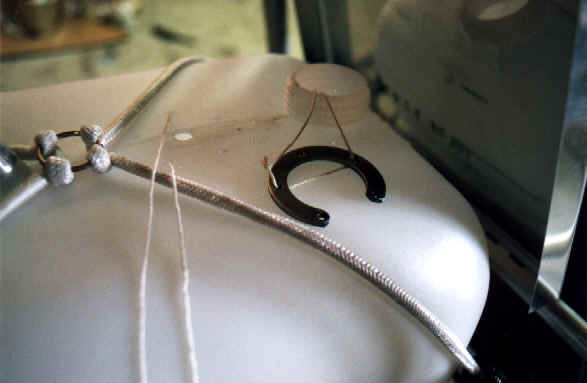 |
Putting in the fuel gauge sender. This was one of the hardest things to do. I ended up cutting the ring out at its widest point to get it through the cap hole. I still had to put a slight notch on the filler and force it in. Be sure you put the sender close enough to reach in there with your fingers to hold it for the bolts. The string works enough to get it close. |
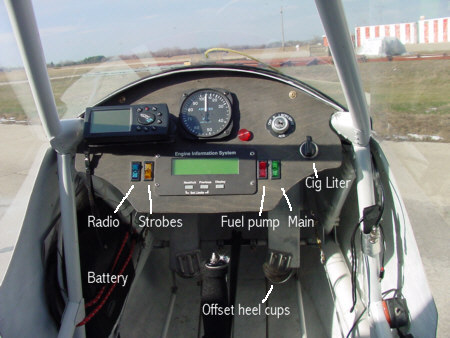 |
The completed Instrument Panel. I love the simple layout possible because of the EIS. I am a dealer for them and can get good prices on the system. |
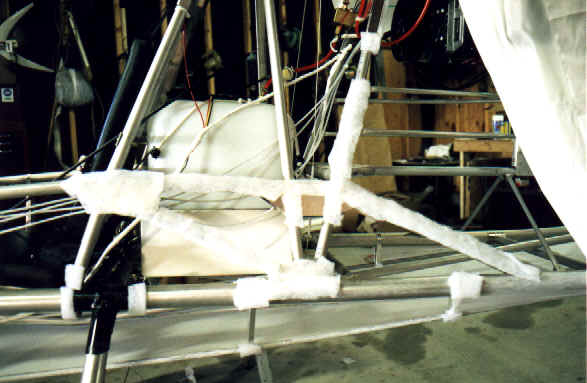 |
Padding the bumpy parts with cotton batting. A great idea I learned from Oshkosh. Double up on the piece where the 2 tubes meet the longeron in the middle of the picture. |
 |
Throttle and Choke cable setup. I didn't measure according to the instructions (actually I found the measurements after I already drilled). I sat in the seat and marked where my hand would go. Worked better. |
 |
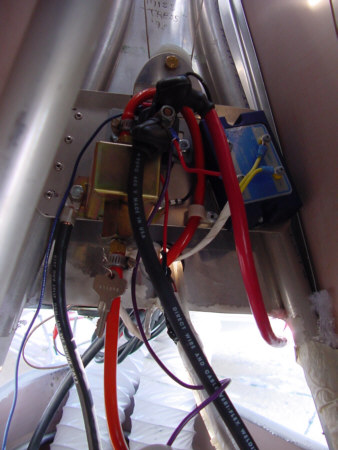
Facet pump mounted in series. Since this picture was taken, I've added the starter solenoid and rectifier to the plate. Made a neat installation. Everything is routed through a hole that is buffered by a rubber grommet I made out of a Ford brake reservoir diaphragm. Works perfect. |
 |
Completed. |
 |
CB antenna and intercom mounted. All wires route through the down tubes. The little white piece next the CB coax on the front tube is my outside air temp sender for the EIS. UPDATE: I've since gone to a "Real" radio and aircraft antenna. It was fun to talk to truckers, but nobody else really used CBs. |
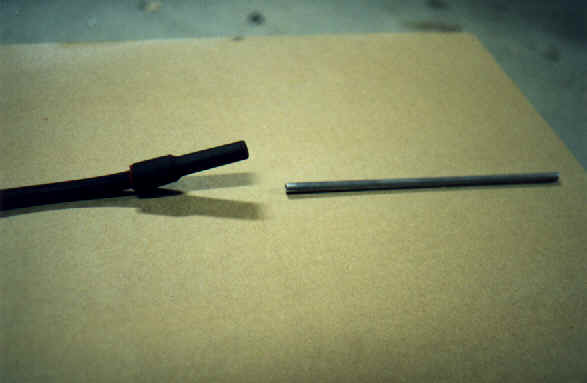 |
I don't get brilliant ideas very often, but I got to admit, this is one of my better ones. After drilling a hole in the front of the nose cone and mounting the pitot tube, 3 pilots in one night knocked up against it! So I filled the hole and moved it right out to the tip of the nose. The pitot hose mates to a spark plug boot. The tube is left over from the fuel tank sender that I had to cut to fit. |
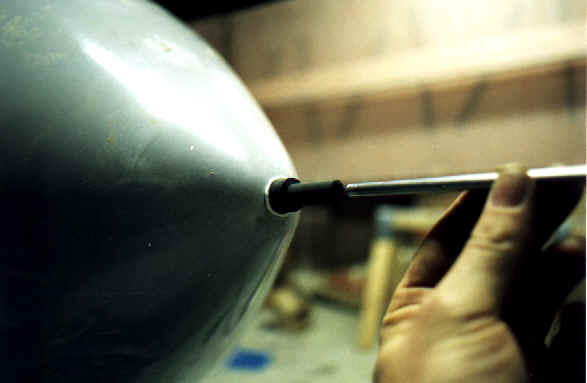 |
The hose and boot were slipped in from the back, and a grommet was made by cutting off the bottom of another boot, and then siliconed to the nose. Now I can remove the pitot when the plane is parked. Even if I forget, it is still somewhat flexible if someone bumps against it.. |