 |
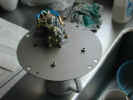
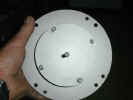
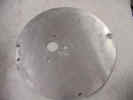
First of all, drill a little hole in the center of the
starter cover plate. There's a nib in the center of the black gear
housing that will stick up there. Decide where you want the pump
and drill the other holes by centering the black housing and marking the
holes on the plate. I put mine at about the 2 O'clock position
(viewed on the plane), and almost got in the way of one of the 4
mounting bolts. Next time, it'll be at 3 O'clock. |
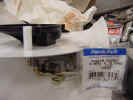 |
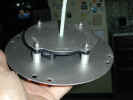
I went to Menards and found these nylon spacers, which I
cut down to around 3/4", to support the black housing. Total
cost for the spacers, hardware and aluminum sheet was around $7. |
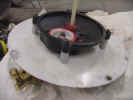 |
I used 1 1/4" 10/24 fine thread allen screws with
nylocks, to hold everything together. The screws were the same
size as the hole in the spacers, so they threaded right in and stayed
tight. Be sure and grease the nylon gears before you put
everything together. |
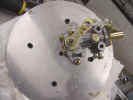 |
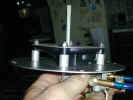
The pump is mounted on the outside of the plate. |
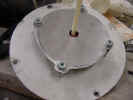 |
I traced a plate out on the aluminum sheet and cut it
out. Note: Next time, do the tracing BEFORE it's mounted to
the starter plate. Makes for much cleaner lines. The
hex-head screws were almost too short, so I used a dab of locktite to
make sure the nylocks wouldn't go anywhere. Maybe use 1 1/2"
screws next time. |
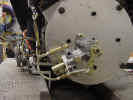 |
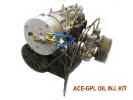
The finished product mounted on the engine (sitting on the
bench, upright). Oil lines are connected. Throttle/injection
cable is from Bob Robertson. |
 |
After cruising through an auto salvage yard, the
windshield washer bottle out of a Chevy Luv pickup looked to be the
right size. $10 got the bottle, pump and bracket. Later on,
I decided that the nipple at the bottom was too small, so I drilled it
out, and installed a larger brass nipple. |
 |
The indentation at the bottom of the bottle was where the
pump sat, and it just happened to be the same size as the big nut on the
re-drive. One could almost mount it right there. |
 |
A 2" piece of brass plate was formed as a mount for
the bracket, which slides onto it. There's slightly over a quart
of oil in the bottle in this picture. |
 |
The bottle is about the same height as the redrive, so the
drag penalty should be minimal. |
 |
Talk about a close fit! I actually had to bend the
pump arm a bit to clear the firewall. When running, the clearance
will increase, so it will be no problem. |
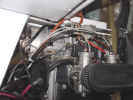 |
The finished product, with the new throttle cables
installed. |
